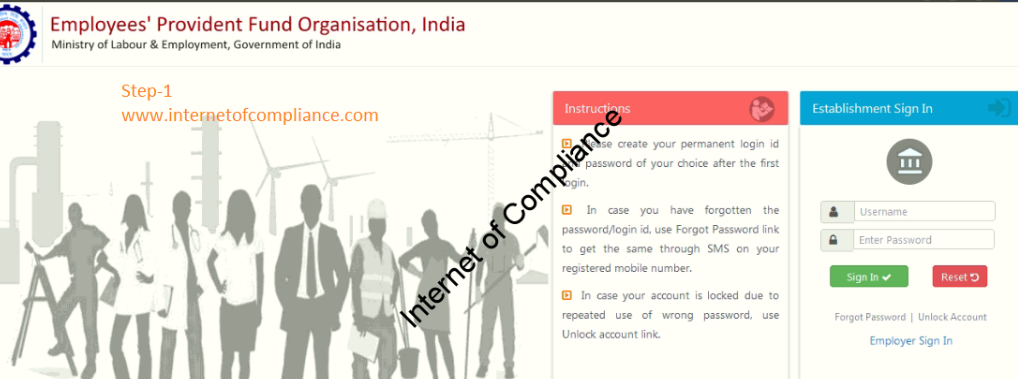
1. First of all logins on EPF Site using username & password
2. Payment's tab and then click on ECR / RETURN FILLING.

3. Click on ECR Upload file-> Click on ECR Upload.

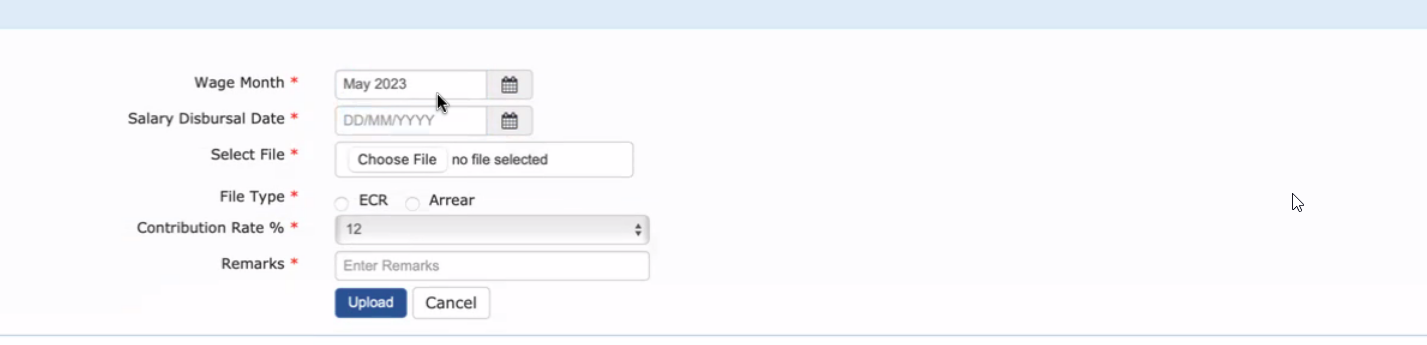
4. New Page will be Open and fill-up the steps by step:
a. Wage Month- On which month filling-Done
b. Salary Disbursal Date- End of month Date.
c. Select file- Choose File
d. File Type- Select Wich file you want to Upload (ECR/Arrear)
e. Contribution Rate %- 12
f. Remarks- Mention File type & month and Year
g. clicks on Upload
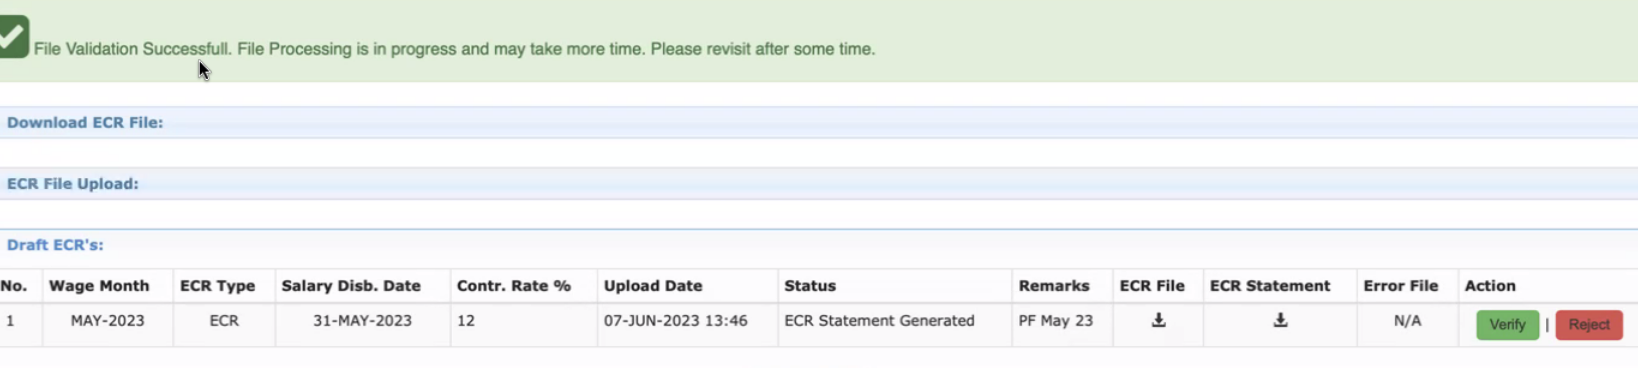
5. New Page will be open and click on Verify option.
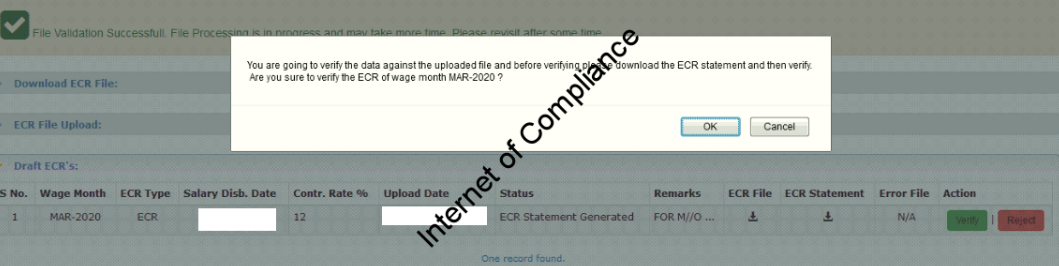
6. click on OK option.
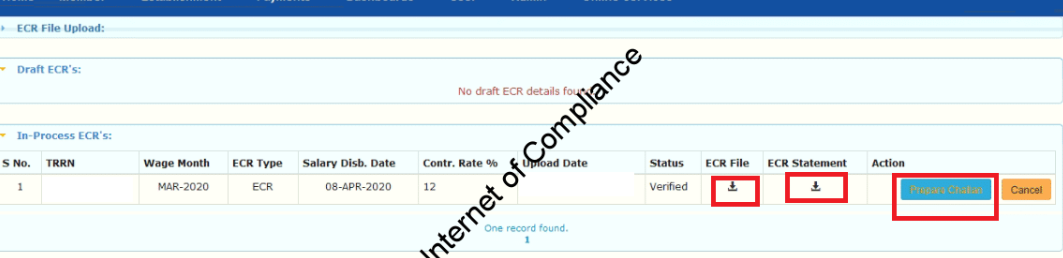
Note: Hare Before Verify you can Download ECR Statement for future reference.
7. new page will be open and click on Prepare Challan.
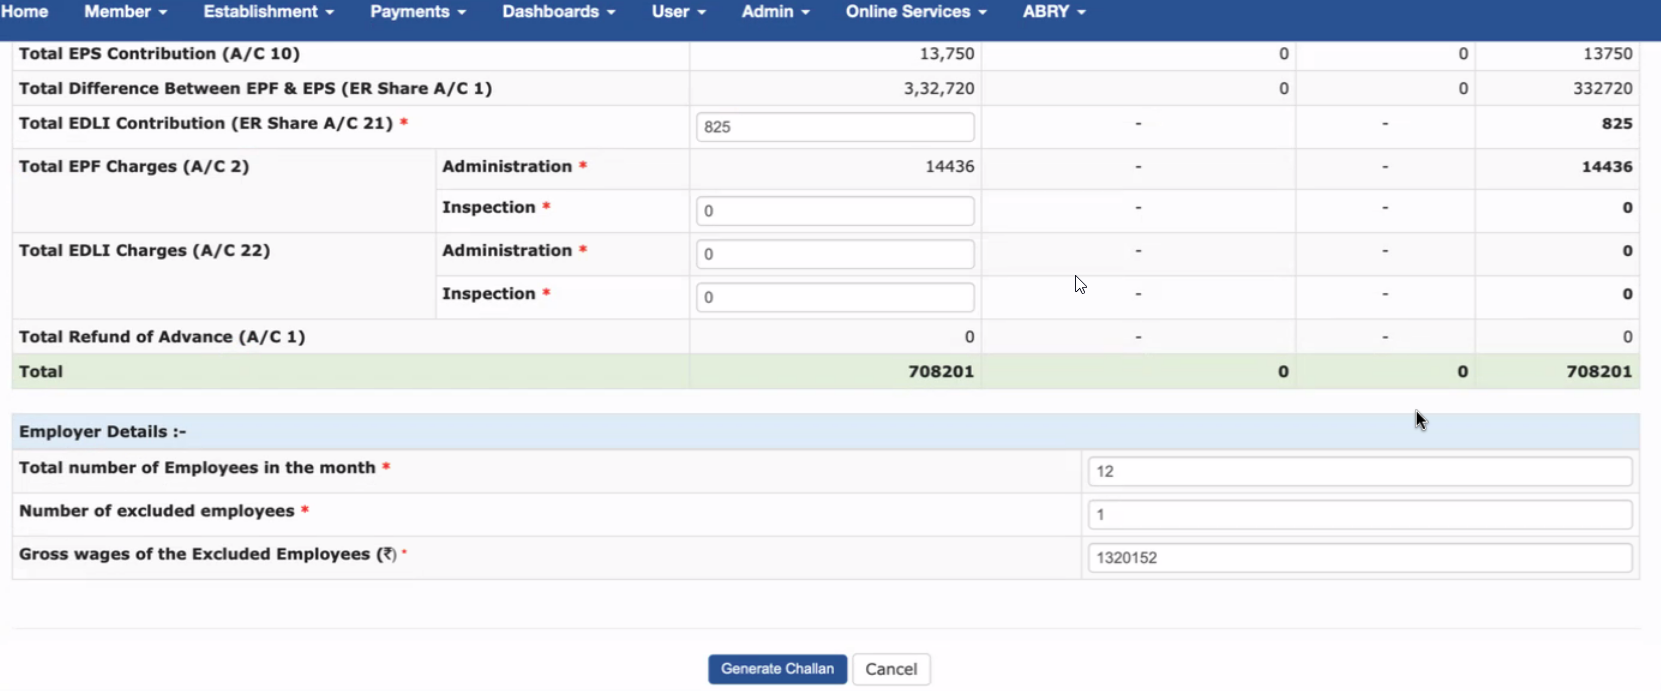
8. New page open and matched Payable Amount with Pay Register & Portal than click on Generate Challan Option.
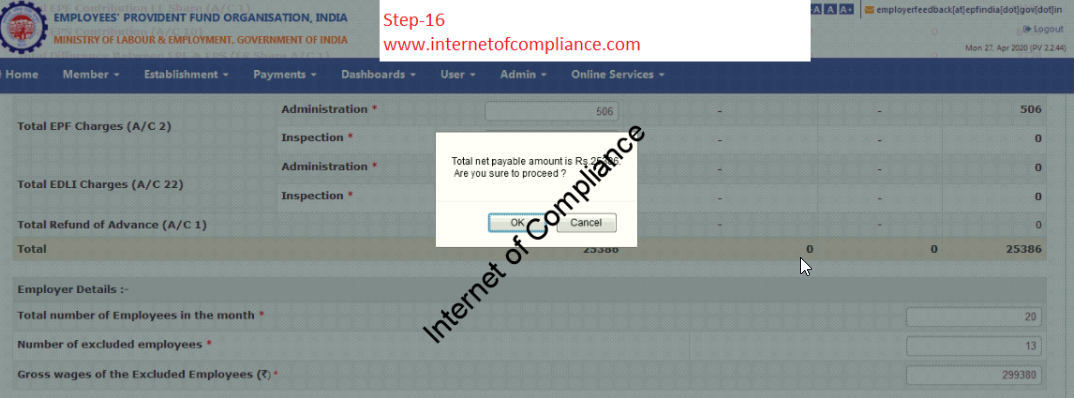
9. After click on Generate Challan new window open & show POP-UP message show the final Payable amount of EPFO against Monthly EPF Contribution. Press OK for further proceeding else cancel for cancelling the challan.
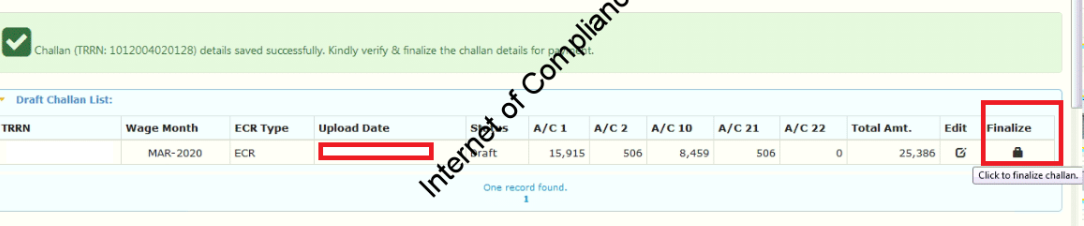
10. After the Final Confirmation of Challan in step-10. Your data was successfully Submitted on EPFO Site & successfully save on EPFO Server. Now you Check the status of challan now its show “Draft” which means you can still edit the entries made in EPF RETURN FILLING. You can also check the upload date & time under the Upload Date column & cross-check the wages months also.
Save the TRRN Number for future reference. Now after checking these points, click on the Lock symbol under the finalize column.
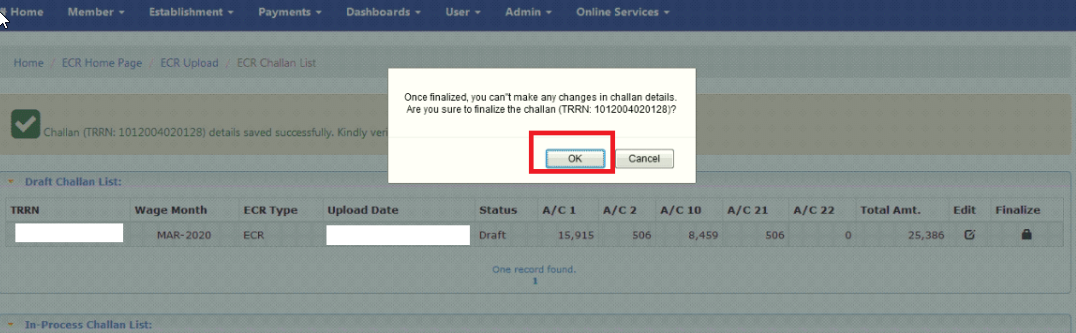
11.
After clicking on the LOCK symbol on step -10, now one pop-up message is shown for the final confirmation of EPF RETURN FILLING. Click Ok to Submit the final step of EPF Challan. After clicking on OK, your EPF Challan is ready to pay.
Note: Once Finalized you can’t make any changes in Challan Details.
Note: Navigate: Go to Control Panel->Payroll->Report->Compliance->PF Register->Download ECR.
2. Download Pay Register and PF Register and Matched with each other PF/Arrear Amount.